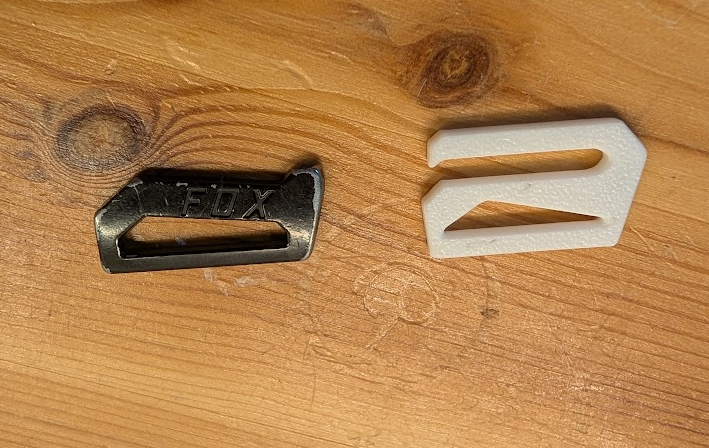
I’ve owned a pair of Fox shorts for several years. They had a small metal buckle on the waist, but it unfortunately broke. I’ve been looking for an easy project to get into “forged” carbon fiber, and this seemed like a good opportunity. I mostly followed the EasyComposites guide.
Design
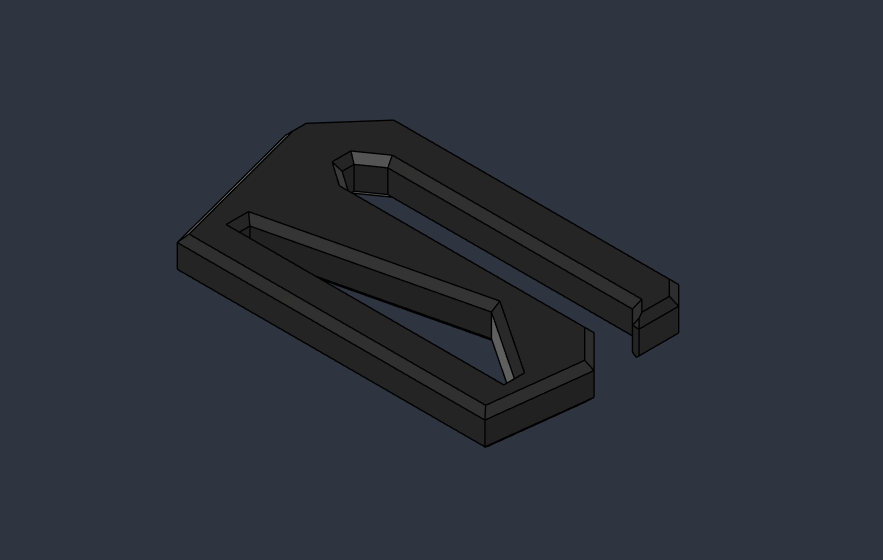
I started by modelling the buckle itself. I quickly modeled and printed a test piece. The part didn’t have any strict dimensional requirements, aside from fitting into the belt loops on the shorts. After a quick test fit to ensure that the new buckle would work, I moved onto designing the mold.
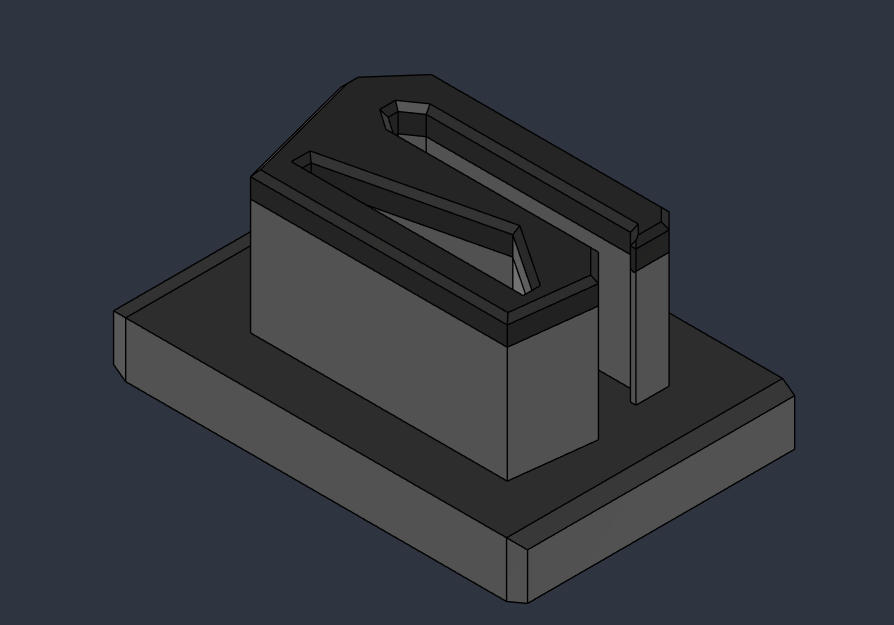
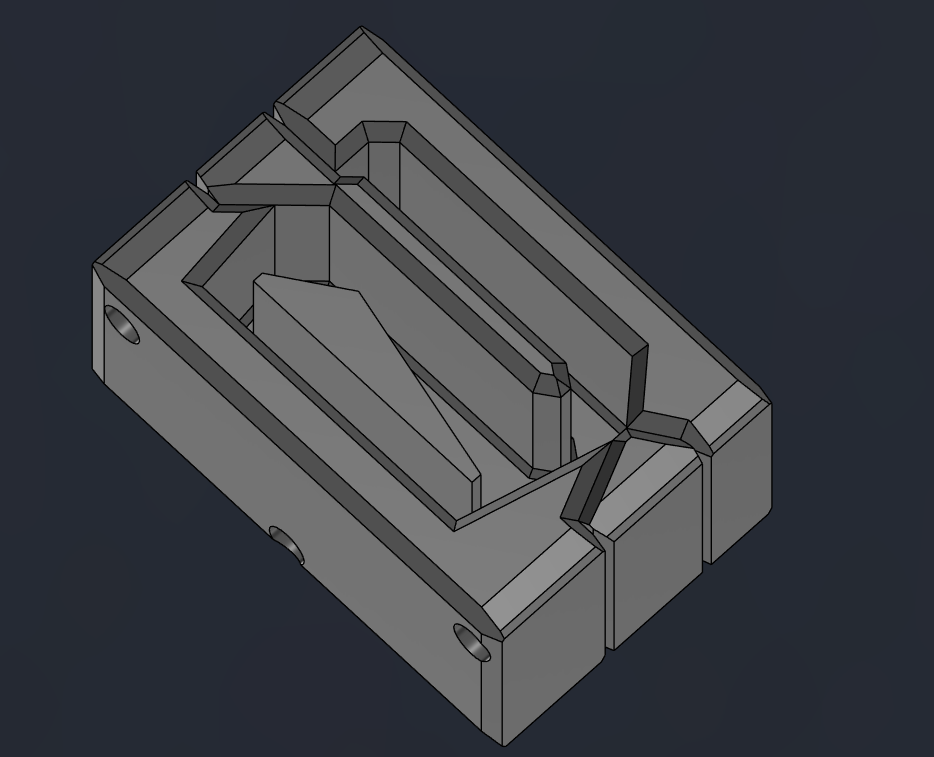
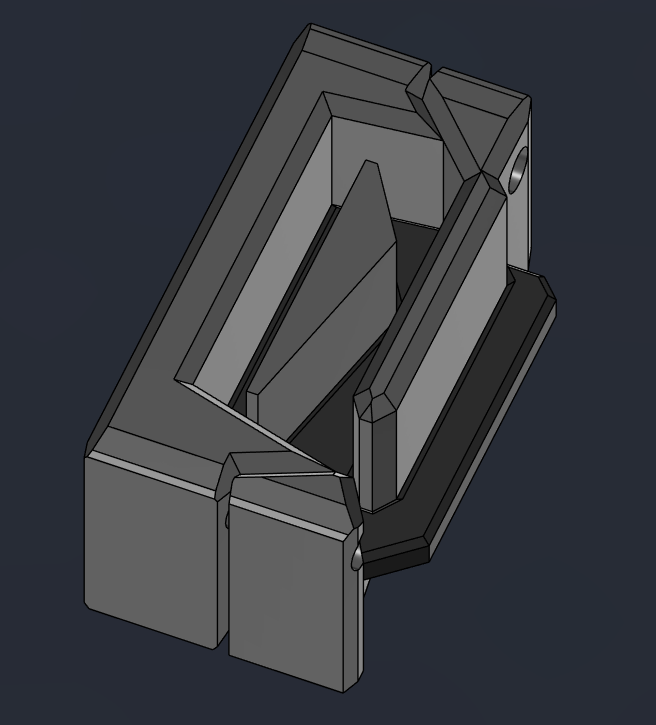
I designed the mold to be made of 4 primary parts. The top was a press that could be inserted into the lower assembly. The lower assembly was made of 3 parts, held together with M3 fasteners. This would allow for disassembly & easy demolding after the resin had cured. Due to the features in the center of the part, demolding would be the most difficult part of the project. Each mold part was chamfered for easy separation.
Mold Prep
Mold manufacturing and preparation is the most important step for achieving consistent high-quality parts. Some online sources suggested using hot-melt paraffin wax for mold release. I use this process for waxing bike chains already, so it seemed like a cheap & easy solution.
Unfortunately, I don’t have a way to effectively manage the wax temperature. Because of this, I struggled to find a temperature for the wax that wouldn’t warp my 3D molded parts. I waxed several mold parts without compromising dimensional accuracy, but the process was too inconsistent to inspire confidence. I want to produce just one or two reusable molds instead of needing to print and prep a new mold for every part.
While I only had PLA & PETG-HF on hand, I will be looking into getting some higher-temperature resistant filaments for both future projects and mold purposes. Alternatively, I am considering some more standard mold release agents. I want to avoid aerosol products for cost, complexity, and health reasons, but there are several compelling options in the category.
For this project, I did manage to get some molds that were only slightly warped, which I chose to use. To get the best results, I took the following steps:
- 3D print on minimum layer thickness, maximum quality
- Sand very lightly with 1000 grit paper
- Clean with IPA
- Dip in slightly-cooled (but still liquid) paraffin wax
- Wait for part to heat & “wick” wax into it
- Remove from wax & let cool
- Scrape excess wax off with utility knife, wipe clean with dry paper towel
Production
I started by following the EasyComposites ratios for resin & fiber quantity, using some 2-inch chopped fiber sections I got from Amazon. With some low-viscosity TotalBoat resin, I weighed and mixed, before wetting my fibers and installing into my mold lower. Unfortunately I didn’t take many pictures of this process, as it was a bit messy.
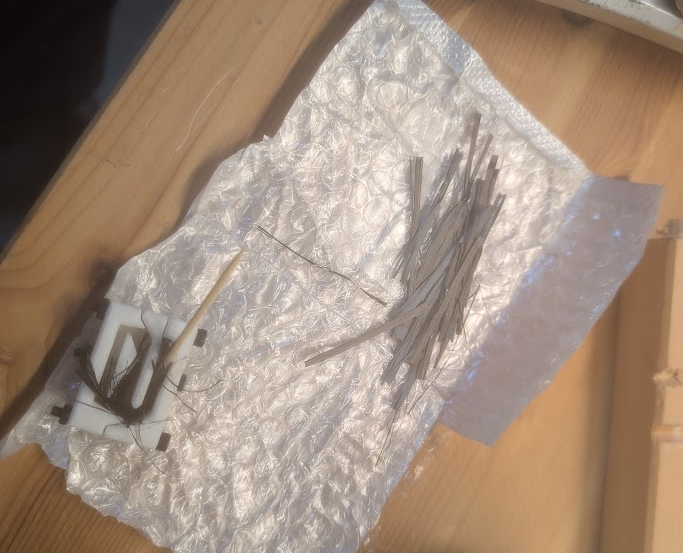
After loading my mold, I carefully poured the excess resin into the mold, before installing the lid & putting the entire mold into my vise.
After a full day the resin had dried & demolding could begin. I unscrewed the lower part of the mold, and pried off the first part.
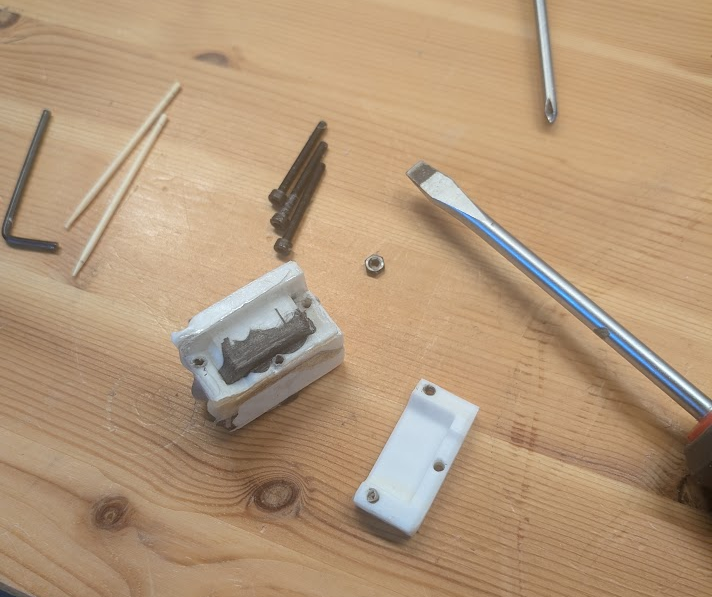
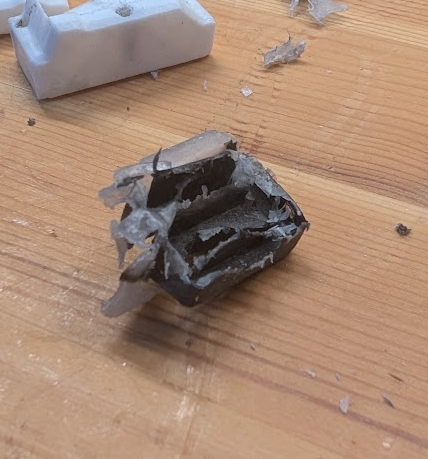
With some persuasion, I evacuated the part. The part was very messy, as I had slightly overshot the fiber quantity, and the mold had some small gaps. After shaving and sanding most of the flash off, I was left with a rough-looking part.
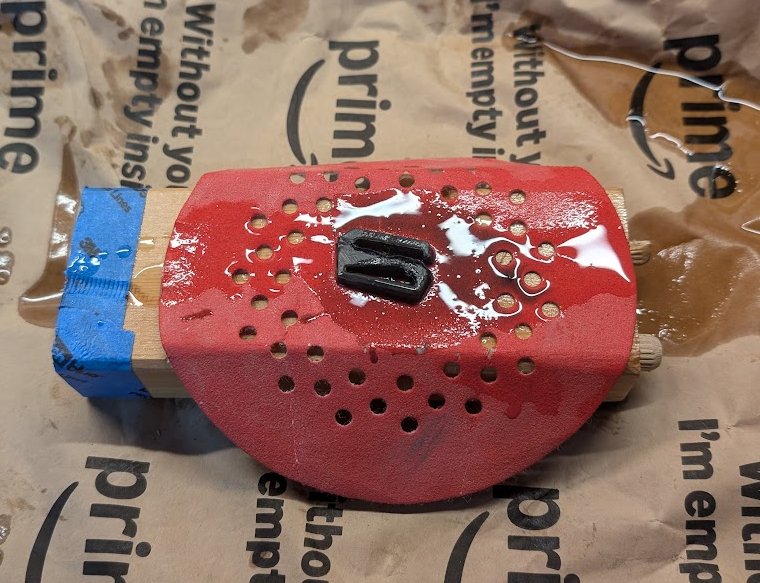
Results & Finishing
Dimensionally, the part was accurate to ±0.5mm, which was enough for this application. However, I will need to improve both tolerances and surface finish for future projects. The part has clear defects where the mold joints were, and there are some other obvious voids, particularly in the back of the part.
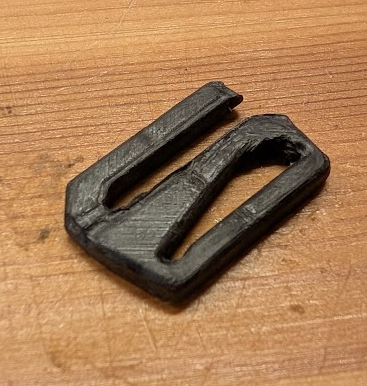
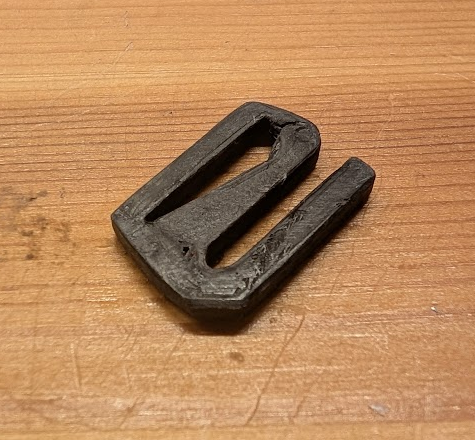
I finished the part with some old clearcoat rattle can. For more important projects, I’ll buy a can of 2k clear for better quality.
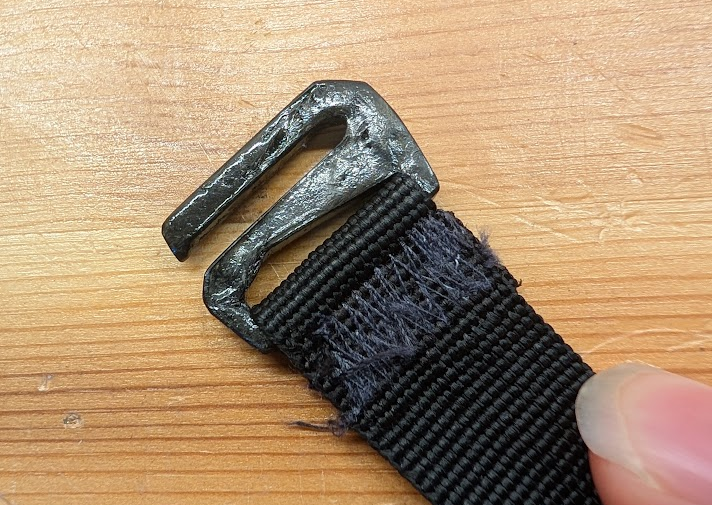
Summary
This project was intended to be a first foray into making composite parts with 3D printing and forging. With a relatively low time & material investment, I’ve created a functional part and learned a lot about part making. While these results were lackluster, future process changes will improve that.
Future Plans and Improvements
Mold Issues
Improved molding will be high on my list of problems to be solved. Both initial print quality and mold release coatings need to be improved in order to produce high-quality parts. I’ll be researching high-temp filaments for melt-wax coatings, and also investigating aerosol spray release agents for future work.
Another approach to preventing part accuracy is adding excess material to finished parts, so that the original dimensions can be attained with some subtractive process. I don’t have access to any precision machines (lathe, mill, etc), but I can use a dremel and sandpaper to remove material manually.
This approach is extremely unfavorable for several reasons. Not only are carbon composites dangerous to inhale, the inconsistencies in the composite structure means that sanding & grinding will produce variable results. Finally, these approaches introduce human error. One slip or inattentive moment could ruin a valuable part. This approach will be a last resort if other methods are unavailable.
I may be able to gain access to a milling machine at some point, but this will add serious cost and complexity into part manufacturing. Ideally, this will not be a necessary step except in the case of extremely precise parts.
Material
Another potential source of issues in the part could be the fiber size. Each fiber segment was ~2 in (~50 mm) long, far larger than the part. This meant that the fibers had to be woven along the entire length of the part. Shorter pieces of fiber may have filled small gaps & cracks better than full-length ones. I will test a variety of shorter lengths, along with variable length blends, to see how the fill quality changes.
Other Parts
To improve quality and consistency, I am planning on making some ornamental parts. These will likely be some kind of animal, and will make nice small gifts.
For these pieces, I’ll be testing various mold manufacture/design process and fiber lengths. Making these parts will also be good for developing consistent processes and learning how to improve part quality.
A serious part I want to make is a bike water bottle cage. These are common “bling” items, but I have a specific shape in mind. I have a Cannondale SuperSix Evo, with an aero bottle cage system. While they hold bottles well, they break extremely easily, and I want to make my own carbon replacements.
This will be an extremely complicated part to make, and will face extreme scrutiny if they fail or break in any way. The cage has a number of subtle features that let it hold bottles precisely. Most of these features depend heavily on the material properties of the original cage, a recycled plastic (also likely why they break so easily) that flexes very easily.